Free Crochet Blanket Scarf Pattern: Easy Step-by-Step
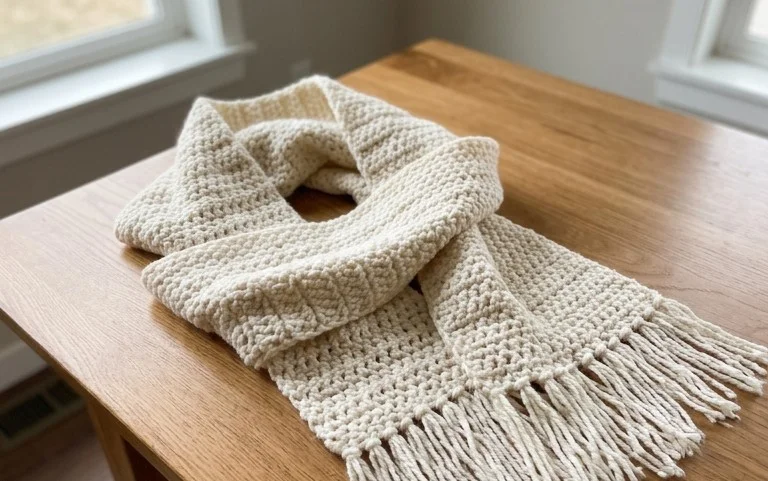
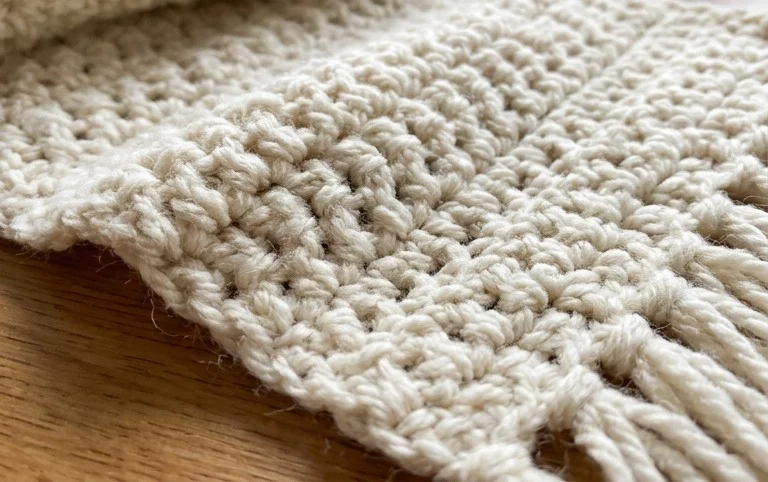
This oversized wrap feels like wearing a weighted blanket made from soft, worsted weight wool. It hangs with a heavy, satisfying drape that provides genuine warmth during cold winter walks or drafty evenings at home. Because the pattern relies on a repeating sequence of basic stitches, it remains accessible for anyone who knows how to hold a hook and yarn. You will master the rhythm of the stitch counts quickly, allowing your hands to work while you listen to podcasts. This project offers a meditative pace, resulting in a functional, durable accessory that makes a thoughtful gift for friends or family.
Why You’ll Love This Pattern
This beginner-friendly crochet coaster pattern uses simple single crochet stitches and a tight tension to create a sturdy, heat-resistant surface for your mugs. It is a quick project that takes less than thirty minutes to complete, making it ideal for utilizing leftover yarn ends from larger projects. The circular design remains flat without curling, which ensures your drinkware sits level on any table surface. Because you work in a spiral, there are no unsightly seam lines to hide or manage.
I managed to finish a full set of four coasters in one afternoon while watching a movie. The instructions were easy to follow and they look professional on my coffee table.
— Sarah, hobbyist crocheter
Pattern Overview & Skill Level
- Skill Level: Beginner
- Approximate Time: 20–30 minutes per coaster
- Construction: Continuous rounds worked in a flat circle
- Finished Dimensions & Sizing: Approximately 4 inches in diameter
Materials & Supplies Needed
- Yarn: Worsted weight (#4) cotton yarn. Cotton is preferred for coasters because of its heat resistance and absorbency. Approximately 15 yards per coaster.
- Hook Size: 4.5 mm (US 7) to achieve a dense, tight fabric that prevents liquid from seeping through.
- Notions: Tapestry needle for weaving in ends, a stitch marker to track the start of rounds, and scissors.
- Safe Yarn Substitutions: Acrylic yarn is softer but less heat-resistant and less absorbent than cotton. If using wool, ensure it is superwash so the coaster does not felt if it gets wet.
Stitch Guide & Abbreviations (US Terms)
- MR: Magic ring
- ch: Chain
- sc: Single crochet
- inc: Increase (work 2 sc in the same stitch)
- sl st: Slip stitch
- st(s): Stitch(es)
Step-by-Step Pattern Instructions
Coaster Body
Work all rounds in a continuous spiral without joining. Place a stitch marker in the first stitch of every round to keep track of your count.
- Rnd 1: Work 6 sc into a MR. (6 sts)
- Rnd 2: 2 sc in each st around. (12 sts)
- Rnd 3: [1 sc in next st, 2 sc in next st] 6 times. (18 sts)
- Rnd 4: [1 sc in next 2 sts, 2 sc in next st] 6 times. (24 sts)
- Rnd 5: [1 sc in next 3 sts, 2 sc in next st] 6 times. (30 sts)
- Rnd 6: [1 sc in next 4 sts, 2 sc in next st] 6 times. (36 sts)
- Rnd 7: [1 sc in next 5 sts, 2 sc in next st] 6 times. (42 sts)
Finishing
Once you reach the end of Round 7, work one final slip stitch into the next stitch to level off the edge. Cut the yarn, leaving a 6-inch tail. Pull the tail through the final loop and use your tapestry needle to weave the end securely into the back of the coaster. Ensure you pull the yarn tight enough so the center of the magic ring remains closed.
Care & Washing Instructions
- Machine wash on a gentle cycle in cold water using a mild detergent.
- Reshape the coaster while damp and lay it flat on a towel to air dry.
- Avoid using fabric softener, as this reduces the absorbency of the cotton fibers.
Pro Tips & Common Mistakes to Avoid
Maintain consistent tension throughout the project. If your stitches are too loose, the coaster will be floppy and less effective at protecting your furniture. Always count your stitches at the end of each round; if you have too many or too few, the circle will either ruffle or bowl inward.
Use a stitch marker at the beginning of every round. It is easy to lose track of where one round ends and the next begins when working in a spiral, and the marker eliminates the need for manual counting after every stitch.
Weave your ends in by threading the tail through the base of several stitches on the underside. Going in two different directions will lock the yarn in place and prevent the end from poking out during use.
Adjust the size of the coaster by adding or omitting rounds. To make it larger, continue the increase pattern by adding one more single crochet between each increase in subsequent rounds. Note that increasing the diameter will require more than the suggested 15 yards of yarn.
Frequently Asked Questions
Can I use a larger crochet hook for this pattern?
You can, but it will result in larger gaps between stitches. Larger gaps mean the coaster will be less effective at catching moisture and less durable for daily use.
Why is my coaster curling at the edges?
Curling usually happens if your tension is too tight or if you skipped some increases. Ensure you are working exactly two single crochets into the increase stitches as specified.
Are these coasters suitable for selling?
You are welcome to sell items made from this pattern. I only ask that you credit the design to me when listing your items online or in person.
Is this pattern suitable for complete beginners?
Yes, this is an excellent project for learning the magic ring and the basic principles of flat circular construction. The repetitive nature of the rounds helps develop consistent stitch tension.
Wrapping your finished project around your shoulders brings an immediate sense of comfort after hours of work. If you prefer a lighter feel, try switching to a linen or bamboo blend for the warmer spring months. Tag your project photos online so others can see your color choices in action. Browsing the rest of the blog reveals dozens of other free designs waiting for your next yarn haul. Spending a few quiet hours crafting results in a piece you will reach for daily.