Easy Crochet Beanie: Beginner Free Pattern by Daisy Farm
Soft wool against your forehead makes this chunky hat a cold-weather essential. The fabric has a squishy, dense texture that traps heat effectively, shielding your ears from icy winter gusts. This project suits beginners who want a quick win because it relies on standard stitches instead of complex math or shaping. You will learn to manage your tension across rounds to keep the size consistent from bottom to top. It feels rewarding to watch the project grow rapidly in your hands. Whether you are stitching a gift for a friend or building your own winter wardrobe, the process stays peaceful.
Why This Project Is Worth Making
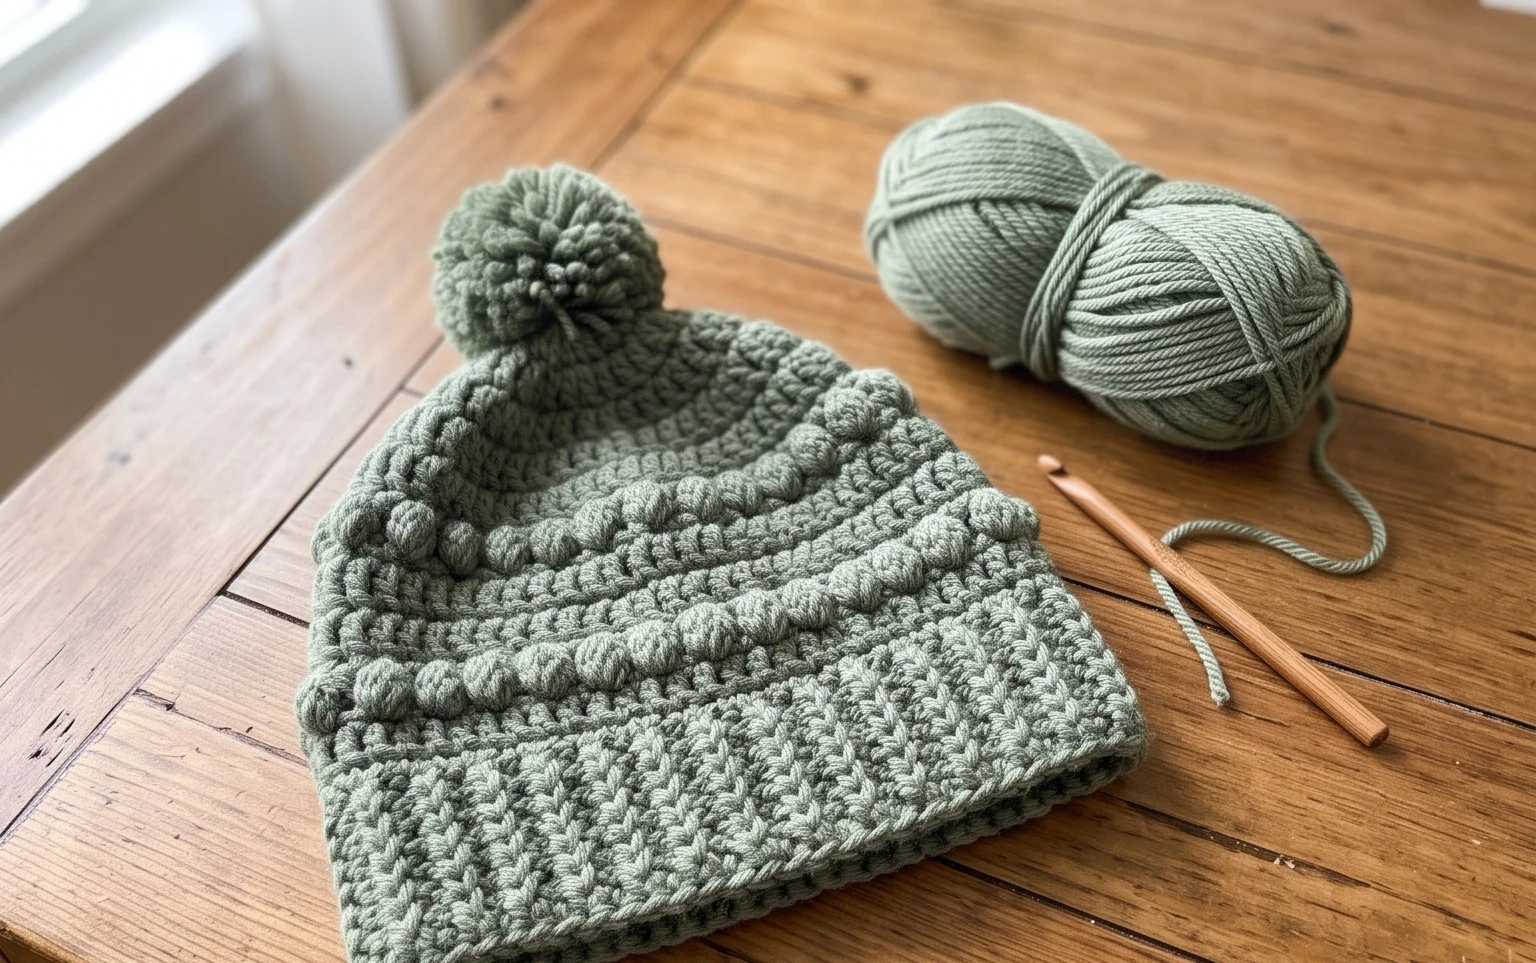
This classic crochet beanie works up quickly using basic stitches, making it an ideal project for those who want a functional accessory without a complex pattern. Because it utilizes a simple stitch repeat, it is easy to pick up and put down during travel or short breaks. The design relies on a chunky weight yarn, which provides significant warmth and allows the project to grow rapidly under your hook. You will find that this pattern is exceptionally beginner-friendly as it avoids complicated shaping or intricate color work, focusing instead on consistent tension and stitch placement. The finished hat offers a timeless silhouette that suits most head shapes and looks great with or without a pom-pom.
I finished this hat in one evening while watching a movie. The instructions were very clear and the sizing was perfect for a standard adult fit.
— Sarah, hobbyist crocheter
Pattern Overview & Skill Level
- Skill Level: Beginner
- Approximate Time: 2 to 3 hours
- Construction: Worked in rounds from the bottom up, starting with a ribbing followed by a simple stitch pattern for the main body.
- Finished Dimensions: Fits an average adult head (21 to 23 inches in circumference).
Materials & Supplies Needed
- Yarn: Bulky #5 weight, wool or acrylic blend, approximately 150 yards.
- Hook Size: 6.0 mm / J-10.
- Notions: Tapestry needle, stitch marker, scissors, and an optional faux fur pom-pom.
- Yarn Substitutions: You can use a heavy worsted weight held double for a similar gauge, though this will significantly alter the drape. Always check your gauge before beginning to ensure the hat fits correctly.
Stitch Guide & Abbreviations (US Terms)
- ch = chain
- sc = single crochet
- hdc = half double crochet
- sl st = slip stitch
- BLO = back loop only (insert hook into only the back loop of the stitch).
- st/sts = stitch/stitches
- dc2tog = double crochet 2 stitches together (decrease).
Step-by-Step Pattern Instructions
Brim
The brim provides the snug fit around your forehead. Work this piece flat in rows before joining to form a ring.
- Row 1: Ch 9. Sc in the 2nd ch from hook and in each ch across. Ch 1, turn. (8 sts)
- Rows 2–50: Sc in BLO of each st across. Ch 1, turn. (8 sts)
- Assembly: Fold the work in half to bring the short ends together. Sl st through both the starting chain edge and the current row to join. Turn the band inside out so the seam is on the inside. Do not fasten off.
Body
Now you will work in continuous rounds along the side edge of the brim.
- Rnd 1: Ch 1, work 50 sc evenly around the edge of the brim. Join with a sl st to the first sc. (50 sts)
- Rnds 2–20: Ch 2, hdc in each st around. Join with a sl st. (50 sts)
Crown Shaping
To create the rounded top of the hat, you will decrease the stitch count over the final rounds.
- Rnd 21: Ch 2, *hdc in next 8 sts, dc2tog; repeat from * around. (45 sts)
- Rnd 22: Ch 2, *hdc in next 7 sts, dc2tog; repeat from * around. (40 sts)
- Rnd 23: Ch 2, *hdc in next 3 sts, dc2tog; repeat from * around. (32 sts)
- Rnd 24: Ch 2, *hdc in next 2 sts, dc2tog; repeat from * around. (24 sts)
- Rnd 25: Ch 2, *hdc in next 1 st, dc2tog; repeat from * around. (16 sts)
- Rnd 26: Ch 2, *dc2tog around. (8 sts)
Fasten off, leaving an 8-inch tail. Weave the tail through the remaining stitches and pull tightly to close the top. Secure the yarn on the inside and weave in the end.
Care & Washing Instructions
- Hand wash your hat in cool water using a mild wool-safe detergent to maintain the fiber integrity.
- Gently squeeze out excess moisture by rolling the hat in a clean towel, then lay it flat to dry away from direct sunlight.
- If the hat loses its shape, lightly steam it using a garment steamer or the steam setting on your iron, keeping the iron at least two inches away from the yarn surface.
Pro Tips & Common Mistakes to Avoid
Check your tension regularly; if your stitches feel too tight, move up one hook size to ensure the hat remains soft and flexible. Always place a stitch marker in the first stitch of each round to avoid losing your place, especially when working on the decrease rounds. When weaving in your yarn ends, ensure you run the needle through the stitches in multiple directions to prevent the end from working loose over time. If you decide to adjust the size, add or subtract in multiples of 5 stitches at the start, keeping in mind that each change will require a slightly different amount of yarn.
Frequently Asked Questions
Can I use a different weight of yarn for this pattern?
While this pattern is written for bulky weight, you can use worsted weight; however, the hat will be much smaller and have less structure. You would need to add more starting chains and additional rounds to achieve the same adult sizing.
Is this pattern suitable for complete beginners?
Yes, this is an excellent choice for a first project. It covers foundational techniques like working in the round, the back loop only technique, and basic decreases without becoming overly complicated.
Can I sell the hats I make from this pattern?
You are welcome to sell finished items made from this pattern, provided you credit the designer. Please note that you cannot use the original photography or distribute the written pattern text elsewhere.
What is the best way to attach a pom-pom?
The most secure method is to use a pom-pom that features a loop of string. Thread the string through the center hole at the top of the hat and tie it securely to a small button on the inside of the crown.
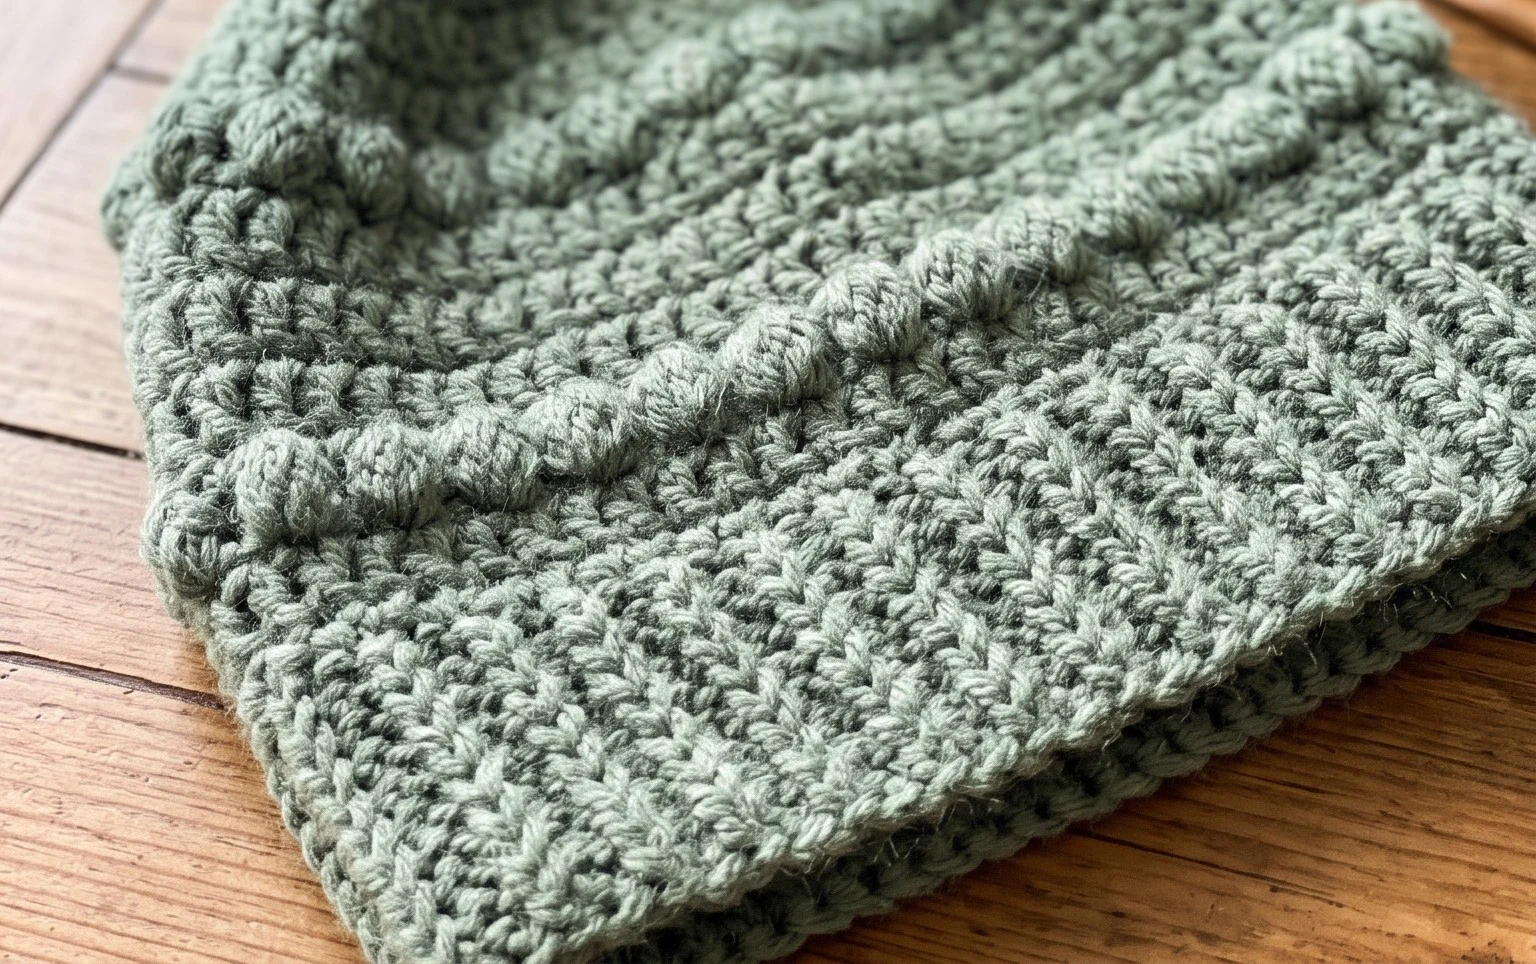
Your finished hat provides a warm layer for chilly mornings and sits comfortably on the head without feeling tight. You can swap the wool for a cotton blend if you prefer a lighter accessory for spring. Try working two colors together to create a subtle heathered look throughout the crown. Sharing a photo of your finished work helps other crafters see how different yarns change the look of the piece. Visit our main collection for more patterns that use these same fundamental techniques to help you gain confidence with your hook.