Easy Summer Kitchen Towels: Free Crochet Pattern Guide
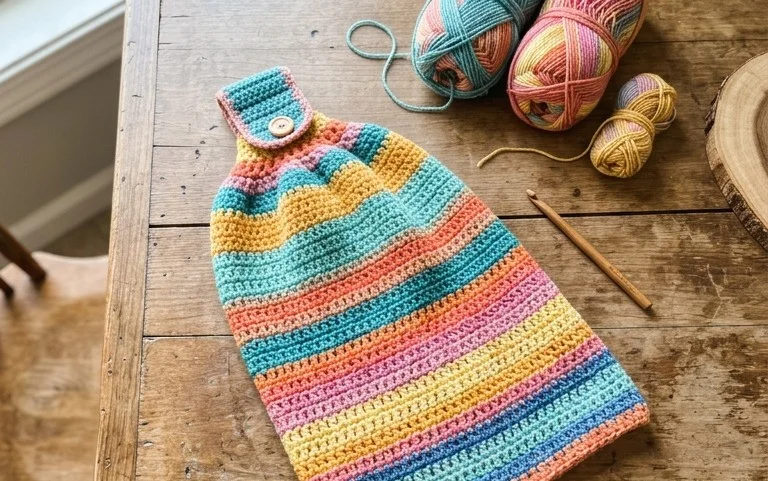
Bright cotton yarn hanging on your oven door brings a fresh mood to a room when the windows are open and the sun is shining. These simple kitchen towels offer a soft, scrubby texture that cleans spills efficiently while holding up to daily use in a busy home. Beginners enjoy this project because it builds muscle memory quickly through a repetitive stitch pattern that grows into a finished cloth in just a few sittings. You will find that mastering this specific weave allows for clean edges that stay flat on your counter, providing a finished look without needing a border.
Why You’ll Love This Pattern
This beginner-friendly crochet coaster pattern uses a simple moss stitch variation that creates a dense, absorbent fabric, making it ideal for protecting your wooden surfaces from moisture. The project works up in under thirty minutes, allowing you to whip up a full set of four for a weekend brunch or a thoughtful housewarming gift in a single afternoon. Because it uses less than 20 yards of cotton yarn per coaster, it is an excellent way to use up leftover yarn from larger projects. The resulting texture is sturdy and lies perfectly flat without curling, which is a common frustration with many circular coaster designs.
I managed to finish a set of six in one evening while watching a movie. The moss stitch pattern is very rhythmic and easy to memorize once you finish the first row.
— Sarah, home crafter
Pattern Overview & Skill Level
- Skill Level: Beginner
- Approximate Time: 25-30 minutes per coaster
- Construction: Worked in flat rows using back-and-forth turning
- Finished Dimensions: 4 inches by 4 inches
Materials & Supplies Needed
- Yarn: Worsted weight (#4) 100% cotton yarn, approximately 15-20 yards per coaster. Cotton is preferred for its heat resistance and absorbency.
- Hook Size: 5.0 mm / H-8
- Notions needed: Tapestry needle for weaving in ends, pair of scissors.
- Safe yarn substitutions: You can use acrylic yarn, though it will be less absorbent and may melt if used with extremely hot mugs. Using a lighter weight yarn like DK (#3) with a 4.0 mm hook will result in a smaller coaster; adjust your starting chain length to compensate.
Stitch Guide & Abbreviations (US Terms)
- ch = chain
- st = stitch
- sc = single crochet
- sk = skip the next stitch
- sl st = slip stitch
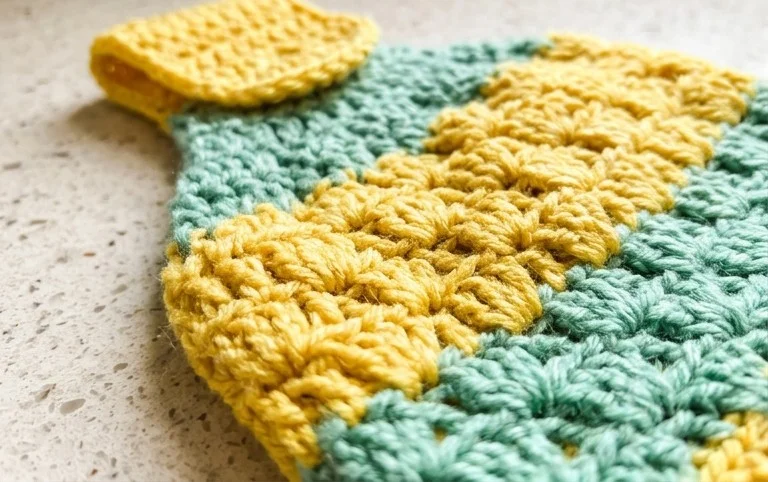
- Moss Stitch: A technique involving a sequence of (sc, ch 1, skip 1).
Step-by-Step Pattern Instructions
Main Body
The coaster is worked in a square shape. Ensure your tension remains consistent so the square edges remain straight.
- Row 1: Ch 16. Sc in 4th ch from hook, *ch 1, sk 1, sc in next ch; repeat from * across to end. (8 sc, 7 ch-1 spaces).
- Row 2: Ch 2, turn. Sc in first ch-1 space, *ch 1, sk next sc, sc in next ch-1 space; repeat from * across, ending with a sc in the turning chain space. (8 sc, 7 ch-1 spaces).
- Row 3-14: Repeat Row 2 until the piece measures 4 inches square.
Border & Finishing
To give the coaster a polished look, you will work a simple round of single crochet around the perimeter.
- Round 1: Ch 1, turn. Work 3 sc into the first corner stitch. Sc evenly along the side, working 1 sc into each row end. Work 3 sc into each remaining corner, and 1 sc into each stitch along the top and bottom edges. Join with a sl st to the first sc.
- Finishing: Fasten off, leaving a 4-inch tail. Use your tapestry needle to weave the end back into the fabric, moving in the direction of the stitches to keep the tail invisible. Repeat for the starting yarn tail.
Care & Washing Instructions
- Machine wash on a gentle cycle in cold water using a mild detergent.
- Lay the coasters flat on a clean towel immediately after washing to prevent stretching.
- Reshape them while damp by pulling gently on the corners and pressing down with your palm until they lay perfectly square.
Pro Tips & Common Mistakes to Avoid
Maintain consistent tension throughout your rows, as cotton yarn has no elasticity and any tightness will cause the coaster to warp. Always place a stitch marker in the first stitch of each row to help keep your edges straight and prevent accidentally dropping stitches, which is the most frequent mistake beginners make with the moss stitch. Weave in your ends by traveling through the underside of the stitches rather than across the surface; this keeps the front of your coaster looking professional. If you want a larger coaster, add an even number of chains to your starting chain; adding 2 extra chains adds approximately 0.5 inches in width, but remember this will increase your total yarn consumption.
Frequently Asked Questions
Can I use a wool blend yarn for these coasters?
Wool is not recommended for coasters as it is flammable and can felt when exposed to moisture and heat. Stick to 100% cotton or high-quality linen blends for the best results.
Why do my edges look uneven?
Uneven edges usually result from missing the turning chain at the end of a row or skipping the first stitch of a new row. Always count your stitches at the end of every row to ensure you have the correct amount.
How do I adjust the size of the coaster?
The moss stitch requires an even number of stitches. Increase or decrease your starting chain by increments of two to adjust the dimensions while maintaining the stitch pattern.
Can I sell the coasters I make from this pattern?
Yes, you are welcome to sell finished items made from this pattern. Please credit the original design when listing your products online or at craft fairs.
Seeing your handmade towels draped over the stove handle adds a personal touch to your kitchen during the warm months. You can experiment with bold, variegated stripes or stick to muted solid tones to match your existing dishware if you prefer a modern look. Take a picture of your finished work and share it with our community on social media to inspire others in their own crafting. Feel free to browse through the rest of the blog for more patterns that you can start right now.