Classic Granny Square: Free Beginner Crochet Pattern
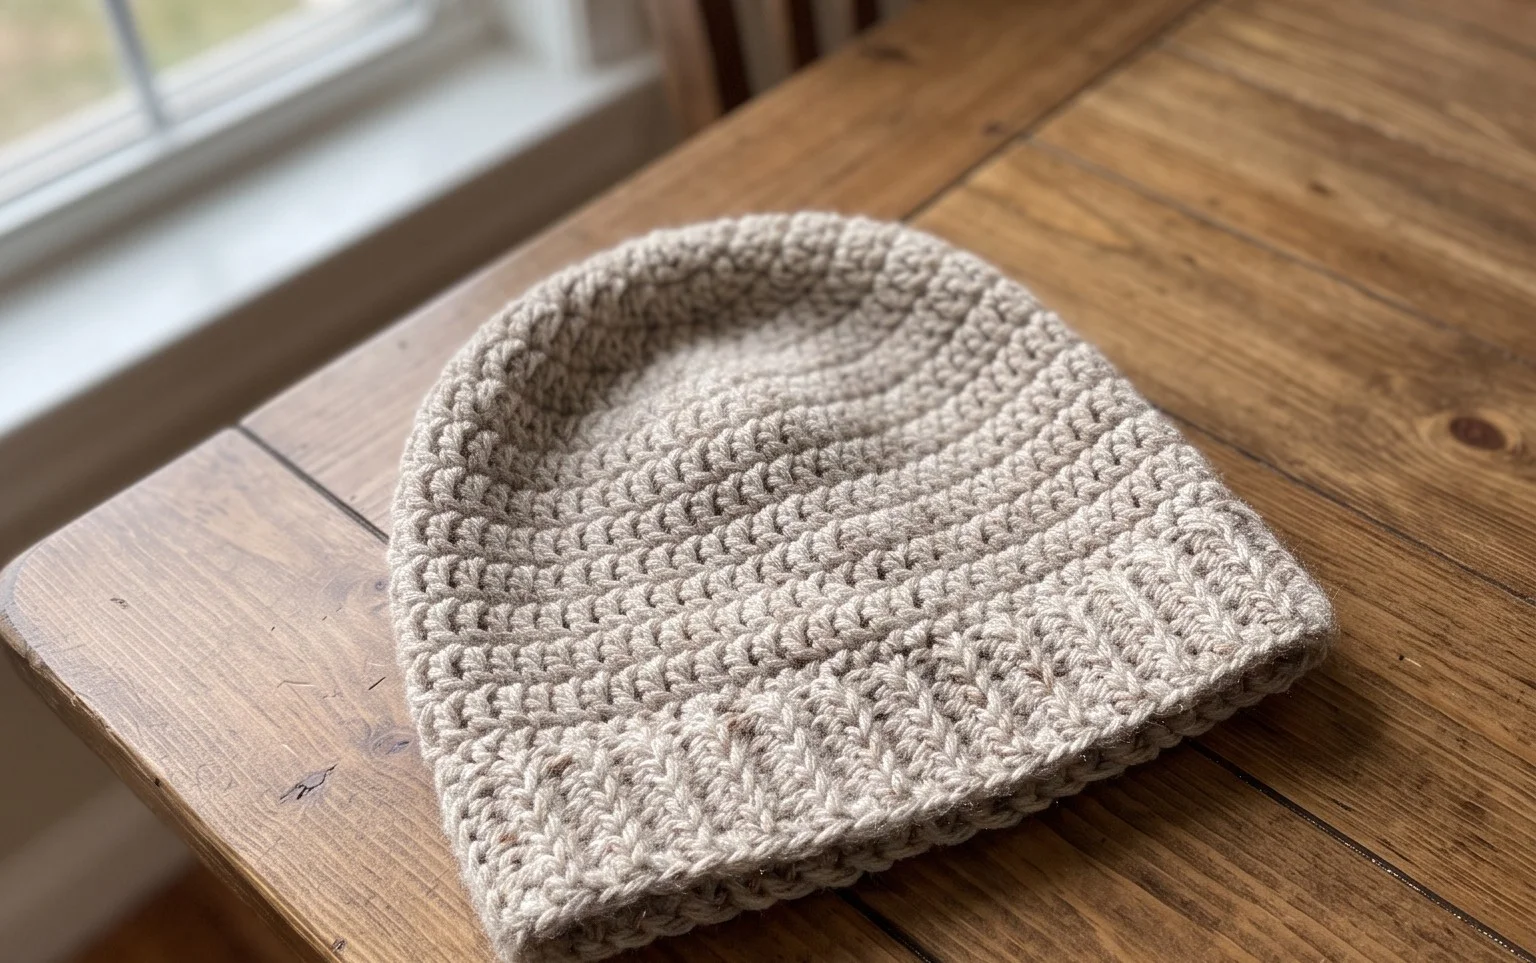
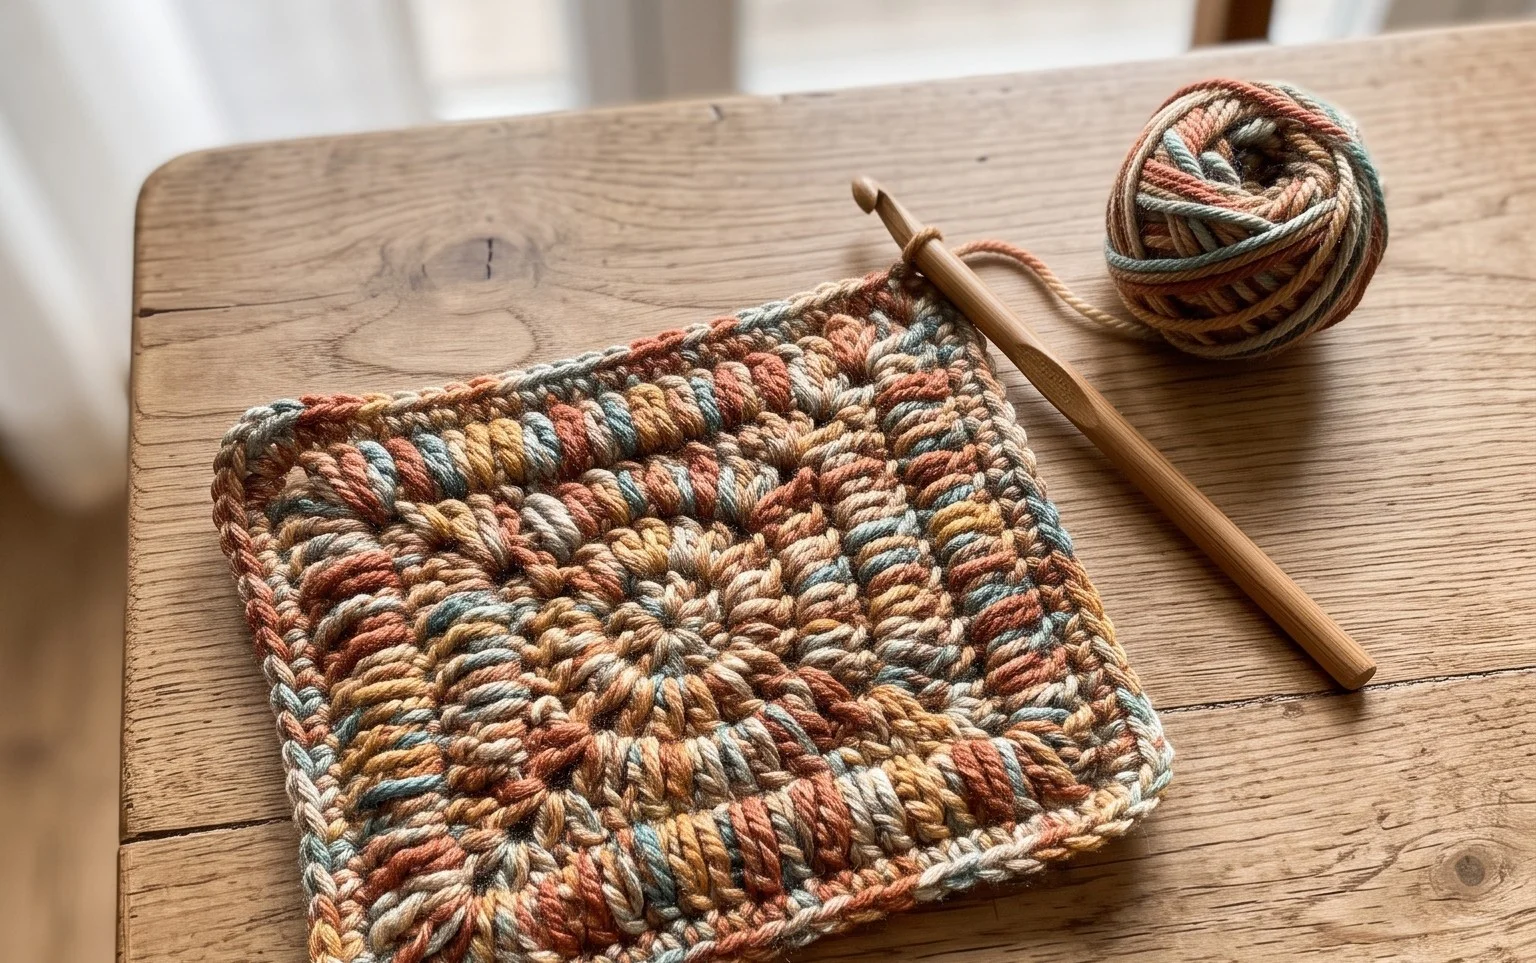
The thick texture of a well-made wool square feels grounding between your fingers, especially on a quiet afternoon with a hot tea nearby. This classic project works perfectly for those learning to control tension or anyone wanting to clear out a basket of leftover yarn ends. You will find that these squares hold their shape well, making them reliable components for blankets, pillows, or even clothing items like cardigans. We focus on the simple mechanics of three-double crochet clusters and chain space placement to build a square that stays flat and looks sharp every single time you finish a round.
Why This Project Is Worth Making
The Classic Crochet Granny Square is the fundamental building block of crochet design. This specific version uses a traditional three-double crochet cluster structure that creates a balanced, professional square with crisp corners. You will find that this pattern is exceptionally fast to work up once the rhythm of the clusters is established. It serves as an excellent way to use leftover yarn scraps from larger blankets, as each round can be worked in a different color or kept monochromatic for a minimalist aesthetic. Beginners often prefer this pattern because it introduces the concept of working into chain spaces rather than individual stitches, which makes the work feel less cluttered and easier to manage.
I finally mastered my tension and corner turning with this specific pattern, and now I have a basket full of squares ready for my first cardigan project.
— Sarah, beginner crocheter
Pattern Overview & Skill Level
- Skill Level: Beginner
- Approximate Time: 30-45 minutes per square
- Construction: Worked in rounds from the center outward
- Finished Dimensions: Approximately 5 inches by 5 inches using medium weight yarn
Materials & Supplies Needed
- Yarn: Worsted weight (#4), acrylic or cotton blend, approximately 20 yards per square.
- Hook Size: 5.0 mm (H-8) crochet hook.
- Notions: Tapestry needle for weaving in ends, scissors, and a measuring tape.
- Safe Yarn Substitutions: You may use DK weight (#3) yarn with a 4.0 mm hook for a smaller, tighter square, or bulky weight (#5) yarn with a 6.0 mm hook for a larger, more textured square. Note that changing yarn weight will significantly alter the final dimensions and drape of your project.
Stitch Guide & Abbreviations (US Terms)
- ch: Chain
- st/sts: Stitch/Stitches
- sl st: Slip stitch
- dc: Double crochet
- dc cluster: A group of 3 dc stitches worked into the same space
- sp: Space created by chains
- Magic Ring: An adjustable starting loop used to begin rounds. Alternatively, ch 4 and join with a sl st to form a ring.
Step-by-Step Pattern Instructions
This square is worked in the round, turning at the end of each round to keep the square straight and prevent the work from twisting.
The Granny Square
- Rnd 1: Start with a magic ring. Ch 3 (counts as first dc), 2 dc in ring, ch 2. 3 dc in ring, ch 2 3 times. Join with a sl st to the top of the beginning ch-3. (12 sts, 4 ch-2 sps).
- Rnd 2: Sl st into the next 2 sts and into the first ch-2 sp. Ch 3, 2 dc, ch 2, 3 dc in same ch-2 sp. Ch 1, (3 dc, ch 2, 3 dc) in next ch-2 sp 3 times. Ch 1, join with a sl st to top of beginning ch-3. (24 sts, 4 ch-2 sps, 4 ch-1 sps).
- Rnd 3: Sl st into the next 2 sts and into the corner ch-2 sp. Ch 3, 2 dc, ch 2, 3 dc in corner. Ch 1, 3 dc in next ch-1 sp, ch 1, (3 dc, ch 2, 3 dc) in next corner ch-2 sp 3 times. Ch 1, 3 dc in last ch-1 sp, ch 1, join with a sl st to top of beginning ch-3. (36 sts, 4 ch-2 sps, 8 ch-1 sps).
- Rnd 4: Sl st into the next 2 sts and into the corner ch-2 sp. Ch 3, 2 dc, ch 2, 3 dc in corner. [Ch 1, 3 dc in next ch-1 sp] across to next corner, ch 1, (3 dc, ch 2, 3 dc) in corner 3 times. Ch 1, 3 dc in last ch-1 sp, ch 1, join with a sl st to top of beginning ch-3. (48 sts, 4 ch-2 sps, 12 ch-1 sps).
Fasten off, leaving a 6-inch tail to weave in securely on the back side of the work.
Care & Washing Instructions
- Machine wash on a gentle cycle in cool water using mild detergent.
- Lay the square flat on a clean towel to air dry, reshaping it with your hands while damp to maintain the square edges.
- Steam block lightly if the corners curl, being careful not to touch the iron directly to the yarn if using synthetic fibers.
Pro Tips & Common Mistakes to Avoid
- Consistent Tension: Work your double crochets at a uniform height to ensure the clusters look identical. If one round feels tighter than the previous one, pull it back and loosen your yarn flow.
- Starting the Round: Always place a stitch marker in the first chain of your round so you can easily identify where to join with the slip stitch when you complete the circle.
- Weaving Ends: Weave your yarn tails in multiple directions under the stitches on the back of the square to ensure they do not pull out after laundering.
- Size Adjustment: To make the square larger, simply repeat Rnd 4, adding one more (3 dc, ch 1) cluster into each ch-1 space along the sides before hitting the corner. Note that each additional round will require more yarn.
Frequently Asked Questions
Can I use a different weight of yarn for this square?
Yes, you can use any yarn weight as long as you match it with the appropriate hook size for that yarn. Using a different weight will change the size of the square, so keep this in mind if you are joining multiple squares together for a single project.
How do I join these squares together once they are finished?
You can join squares using a whip stitch with a tapestry needle or by using a single crochet join along the edges. The whip stitch provides a more invisible seam, while the single crochet join adds a decorative ridge between squares.
Is this pattern suitable for someone who has never crocheted before?
This pattern is beginner-friendly as it focuses on basic stitches like chains and double crochets. If you are new to crochet, practice the double crochet stitch individually before attempting to join them into a cluster pattern.
Am I allowed to sell items made from this pattern?
You are welcome to sell finished squares or projects made from this pattern. Please provide credit to the designer whenever possible, but do not sell the pattern text itself.
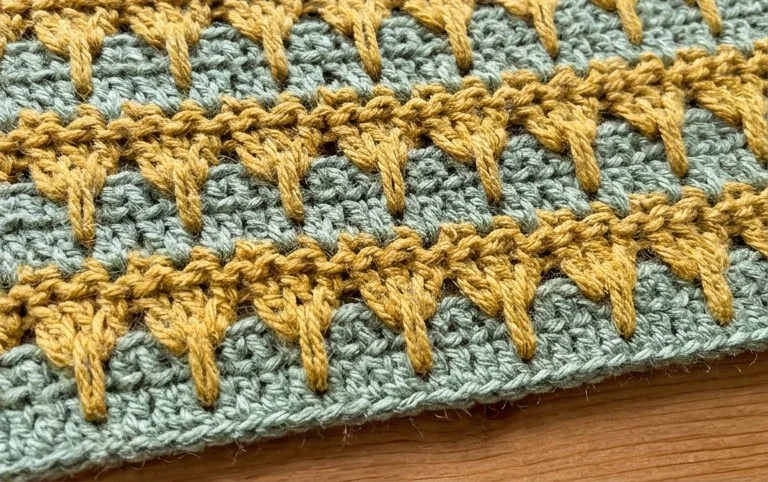
Your new handmade square will gain a soft, pliable hand after its first gentle wash in cool water, making it even better for a cozy throw blanket. You might experiment with variegated yarn for a modern look that requires no color changes at all. Please share a photo of your progress online so others can see how your color choices turned out. Check back here throughout the week for more free patterns to build your collection of handmade goods as you grow your confidence with the hook.