Classic Granny Square: Free Pattern for Beginners
A stack of finished granny squares feels substantial and squishy in your hands, offering a cozy weight that grows as you complete each round. This project suits anyone wanting a relaxing activity for quiet evenings at home or gift makers preparing for birthdays. You will find that the rhythm of the double crochet clusters creates a sense of accomplishment without requiring intense focus. Learning the fundamental loop placement and chain stitch transitions provides you with the skills to build blankets, bags, or even scarves. Working from the center outward helps you visualize how individual sections form a larger, unified piece of textile art.
Why You’ll Love This Pattern
The Classic Crochet Granny Square is the quintessential building block for fiber artists. You will find that this pattern is exceptionally meditative due to its repetitive, rhythmic nature, making it the ideal project to work on while listening to an audiobook or winding down after a busy day. Because it relies on basic chain spaces and double crochet clusters, it is remarkably beginner-friendly and forgiving if you are still developing consistent tension. This project is also highly efficient, allowing you to use up small scraps of leftover yarn from previous makes. By simply changing colors on each round, you can create entirely different visual effects, from bold, high-contrast designs to soft, tonal gradients.
I finally learned how to make these squares after years of avoiding them. The instructions were so clear that I managed to whip up a dozen in a single weekend for my first throw blanket.
— Sarah, beginner crocheter
Pattern Overview & Skill Level
- Skill Level: Beginner
- Approximate Time: 30 to 45 minutes per square
- Construction: Worked in rounds from the center outward
- Finished Dimensions: Approximately 6 inches by 6 inches using worsted weight yarn
Materials & Supplies Needed
- Yarn: Worsted weight (#4), 100% acrylic or wool blend, approximately 20 yards per square.
- Hook Size: 5.0 mm (US H-8).
- Notions: Tapestry needle for weaving in ends, scissors, and a measuring tape.
- Yarn Substitutions: You can use DK weight yarn with a 4.0 mm hook for a smaller, more delicate square, or bulky weight yarn with a 6.0 mm hook for a faster, larger project. Note that changing weight will significantly alter the final dimensions.
Stitch Guide & Abbreviations (US Terms)
- ch = chain
- st/sts = stitch/stitches
- sl st = slip stitch
- dc = double crochet
- sp = space
- cluster = a group of 3 dc stitches worked into the same space
- MR = magic ring (or alternatively ch 4 and sl st to the first chain to form a ring)
Step-by-Step Pattern Instructions
Granny Square Body
The square is worked in continuous rounds, joining with a slip stitch at the end of every round.
- Rnd 1: Start with a MR. Ch 3 (counts as first dc), work 2 dc into the ring, ch 2, *3 dc into the ring, ch 2; repeat from * twice more. Join with a sl st to the top of the beginning ch-3. (12 dc, 4 ch-2 spaces)
- Rnd 2: Sl st into the next 2 sts and into the first ch-2 space. Ch 3, 2 dc in same ch-2 space, ch 2, 3 dc in same ch-2 space (corner made). *Ch 1, skip 3 dc, work (3 dc, ch 2, 3 dc) in next ch-2 space; repeat from * twice more. Ch 1, join with sl st to top of beginning ch-3. (24 dc, 4 ch-2 spaces, 4 ch-1 spaces)
- Rnd 3: Sl st into the next 2 sts and into the first ch-2 space. Ch 3, 2 dc in same ch-2 space, ch 2, 3 dc in same ch-2 space. *Ch 1, 3 dc in the next ch-1 space, ch 1, work (3 dc, ch 2, 3 dc) in the next ch-2 corner space; repeat from * twice more. Ch 1, 3 dc in final ch-1 space, ch 1, join with sl st to top of beginning ch-3. (36 dc, 4 ch-2 spaces, 8 ch-1 spaces)
- Rnd 4: Continue in established pattern by placing (3 dc, ch 2, 3 dc) in every corner and 3 dc in every side ch-1 space, separating all clusters with a ch 1. (48 dc, 4 ch-2 spaces, 12 ch-1 spaces)
Finishing
Once you reach the desired size, fasten off your yarn, leaving a 6-inch tail. Pull the tail through the final loop and tighten. Use a tapestry needle to weave the yarn tail through the back loops of the stitches on the reverse side of the square to secure it. Trim any excess yarn flush with the fabric.
Care & Washing Instructions
- Hand wash your finished items in cool water with a mild wool-safe detergent to preserve fiber integrity.
- Lay the piece flat on a clean towel and reshape it to your desired square dimensions while damp.
- Avoid using a tumble dryer, as high heat can shrink or distort the synthetic or natural fibers used in your squares.
Pro Tips & Common Mistakes to Avoid
- Maintain consistent tension by ensuring your yarn is not pulled too tightly across the chain spaces, which can cause the square to curl or pucker.
- Place a stitch marker in the first stitch of every round to easily identify where to join, preventing accidental additions or omissions of stitches.
- Weave in your ends as you go, rather than waiting until the end of a large project, to keep your workspace tidy and simplify the finishing process.
- If you choose to adjust the size, add more rounds following the pattern logic of 3 dc in each ch-1 space and (3 dc, ch 2, 3 dc) in each corner; remember that each additional round will increase your yarn consumption significantly.
Frequently Asked Questions
Can I use cotton yarn instead of acrylic?
Yes, cotton is an excellent choice for granny squares, especially for items like dishcloths or coasters. Note that cotton has less stretch than acrylic, so your tension might feel firmer.
Is this pattern suitable for making a sweater?
Yes, you can join multiple granny squares together to construct garments. Plan your layout carefully and ensure you have enough yarn to complete all squares to the same dimensions before joining.
How do I join the squares together?
Common methods include the whip stitch using a tapestry needle or the join-as-you-go method using a crochet hook and slip stitches.
Can I sell items made from this pattern?
You are welcome to sell finished items created from this pattern. We suggest including a link to this tutorial in your product listing if you sell online.
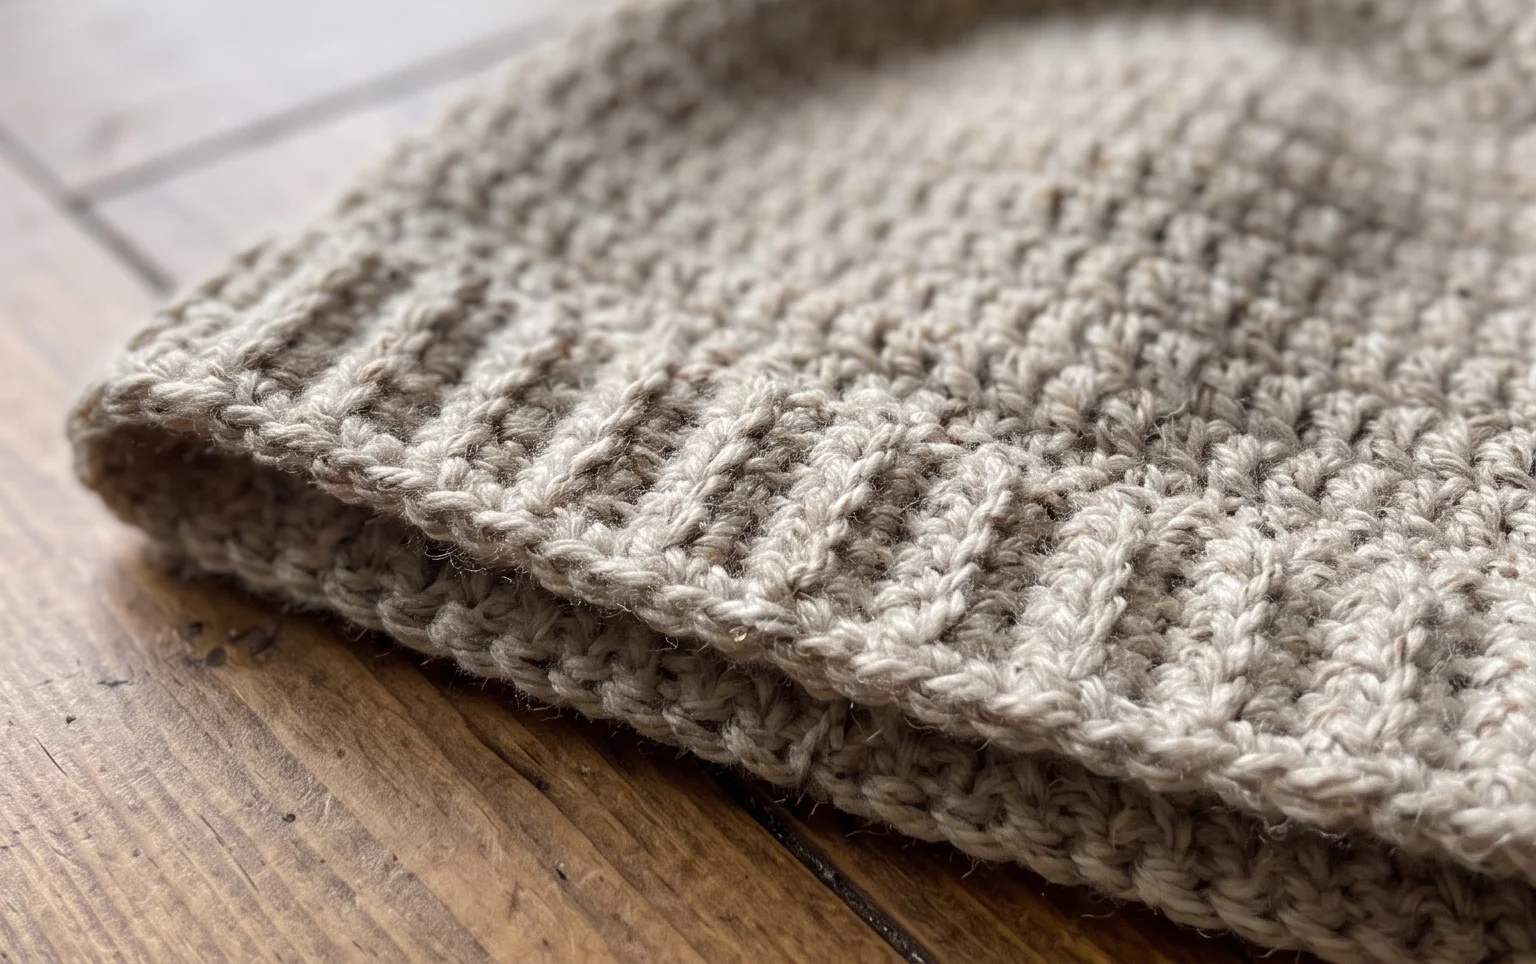
Your finished square forms a neat, symmetrical shape that works beautifully when joined into a larger blanket or a simple coaster for your coffee table. Try using a variegated wool yarn to let the colors shift naturally through the rounds without needing to manage ends as often. You can display your results by posting a photo on social media to show others the specific color palette you chose. Feel free to browse through my archive of other free patterns to find your next creative project for the upcoming weekend.