Easy Puff Stitch Hat: Free Crochet Pattern for Beginners
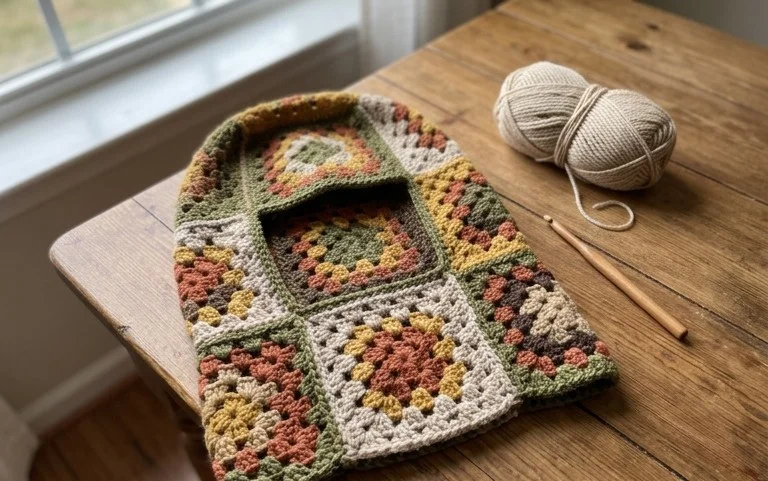
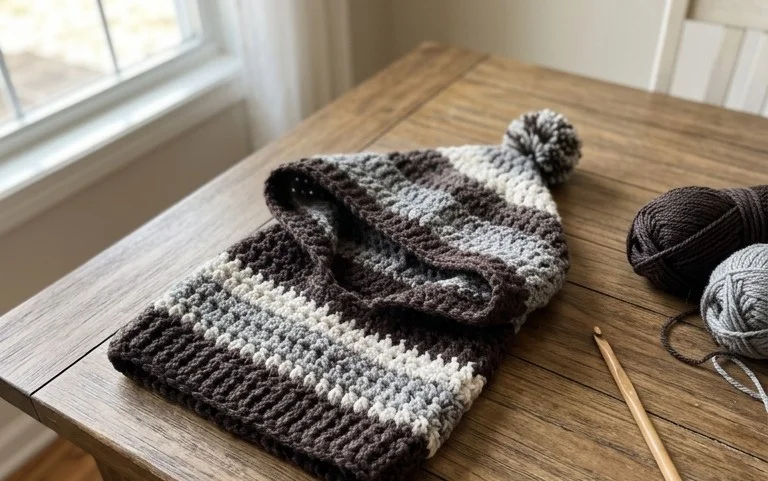
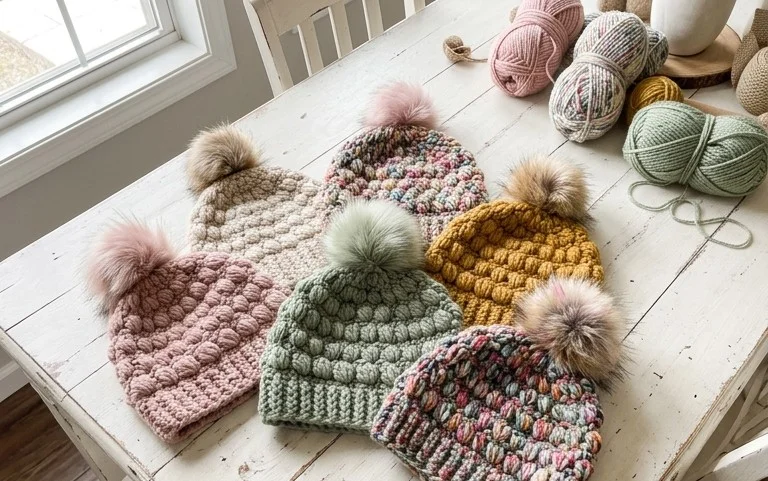
Soft clouds of texture define this squishy puff stitch hat, which provides warmth without feeling heavy on your head. You will love how the puff stitches pop against the simple background, creating a cozy accessory that keeps you comfortable on chilly walks or drafty mornings. This project suits beginners who want to build confidence with slightly more advanced stitches while still following a relaxing, rhythmic pattern. Making one for yourself or as a handmade gift feels rewarding because it comes together so quickly using basic materials from your stash. Mastering the puff stitch sequence opens up many possibilities for your future crochet work.
Why This Project Is Worth Making
This beginner-friendly project works up in under two hours, making it an ideal choice for quick gift-giving or last-minute market stock. Because the design utilizes a simple continuous spiral technique, you avoid the unsightly seam often found in standard hat patterns. The weight of the worsted yarn provides enough structure for the item to hold its shape while remaining soft against the skin. You will find that the rhythmic, repetitive nature of the single crochet stitches creates a meditative experience, perfect for winding down at the end of the day.
I managed to finish two of these in a single afternoon. The instructions are very clear about where to place the stitch markers, which saved me from losing my place in the round.
— Sarah, hobbyist crocheter
Pattern Overview & Skill Level
- Skill Level: Beginner
- Approximate Time: 1.5 to 2 hours
- Construction: Worked in continuous rounds from the center outward
- Finished Dimensions: 8 inches in diameter
Materials & Supplies Needed
- Yarn: Worsted weight (#4), 100% acrylic or wool blend, approximately 150 yards
- Hook Size: 5.0 mm (H-8)
- Notions: Tapestry needle, locking stitch markers, measuring tape
- Safe yarn substitutions: Cotton yarn of the same weight is a suitable alternative, though it will produce a stiffer final fabric and require a slightly looser hand to maintain the same dimensions.
Stitch Guide & Abbreviations (US Terms)
- ch: chain
- sc: single crochet
- inc: increase (work 2 sc into the same stitch)
- sl st: slip stitch
- st/sts: stitch/stitches
- MR: magic ring (a method of starting a project by crocheting over an adjustable loop)
Step-by-Step Pattern Instructions
This project is worked in continuous rounds. Place a stitch marker in the first stitch of every round to keep track of your progress.
Base and Main Body
- Rnd 1: Start 6 sc in a MR (6 sts).
- Rnd 2: Work 2 sc in each st around (12 sts).
- Rnd 3: [1 sc in next st, inc in next st] 6 times (18 sts).
- Rnd 4: [1 sc in next 2 sts, inc in next st] 6 times (24 sts).
- Rnd 5: [1 sc in next 3 sts, inc in next st] 6 times (30 sts).
- Rnd 6: [1 sc in next 4 sts, inc in next st] 6 times (36 sts).
- Rnd 7: [1 sc in next 5 sts, inc in next st] 6 times (42 sts).
- Rnd 8: [1 sc in next 6 sts, inc in next st] 6 times (48 sts).
- Rnd 9: [1 sc in next 7 sts, inc in next st] 6 times (54 sts).
- Rnd 10: [1 sc in next 8 sts, inc in next st] 6 times (60 sts).
- Rnd 11-20: Work 1 sc in each st around (60 sts).
Finishing
After completing Rnd 20, sl st into the next stitch to level off the edge. Fasten off your yarn, leaving an 8-inch tail for weaving. Thread the tail onto your tapestry needle and weave it through the back loops of the final round to secure the edge. Trim any excess yarn close to the fabric to ensure a clean appearance.
Care & Washing Instructions
- Hand wash in cool water using a mild wool-safe detergent.
- Lay the item flat on a clean towel and roll it to remove excess moisture; avoid wringing or twisting.
- Reshape the item while damp and allow it to air dry away from direct sunlight or heat sources.
Pro Tips & Common Mistakes to Avoid
Consistency in tension is vital for a flat, circular base; if your stitches feel too tight, move up one hook size to prevent the circle from cupping. Always move your stitch marker up to the first stitch of the new round immediately after finishing the previous one to avoid losing count during the longer rounds. When weaving in your ends, run the needle under the stitches on the inside of the work in two different directions to prevent the tail from pulling out over time. If you choose to increase the size of this project by adding more rounds, remember that each additional round will require significantly more yarn, so ensure you have an extra skein on hand before starting.
Frequently Asked Questions
Can I use a chunky yarn instead of worsted weight?
Using a thicker yarn will result in a larger finished size and may make the fabric too stiff. If you choose a different weight, you will need to adjust your hook size and potentially decrease the number of increase rounds to keep the item flat.
How do I know if my tension is correct?
Your stitches should be uniform without large gaps between them. If you can see the light through the fabric easily, your tension is likely too loose. If the fabric is curling up like a bowl during the base rounds, your tension is likely too tight.
Is this pattern suitable for complete beginners?
Yes, the pattern only uses the single crochet stitch and simple increase rounds. It is an excellent way to practice maintaining a steady tension while working in a spiral.
Can I sell the items I make from this pattern?
You are welcome to sell finished items made from this design. I request that you provide credit to this pattern in your product descriptions to help other makers find these instructions.
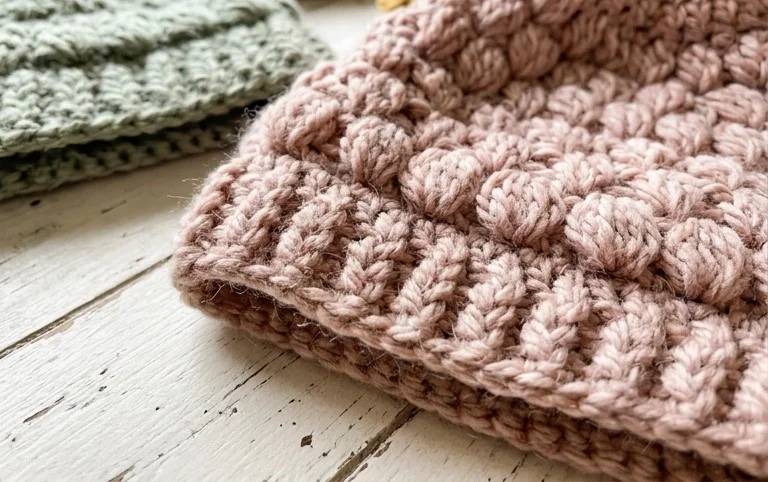
Your finished hat looks beautiful and will provide years of cozy wear during the winter months. Try using a variegated yarn next time to make the texture stand out even more or scale up the size by adding extra rounds of increasing to fit a larger head. Sharing a photo of your work on social media helps other makers find inspiration for their own yarn stash projects. Check the rest of our blog for more free patterns that you can start this weekend using common supplies found in most craft closets.