Summer Granny Square Tank Top: Free Crochet Pattern
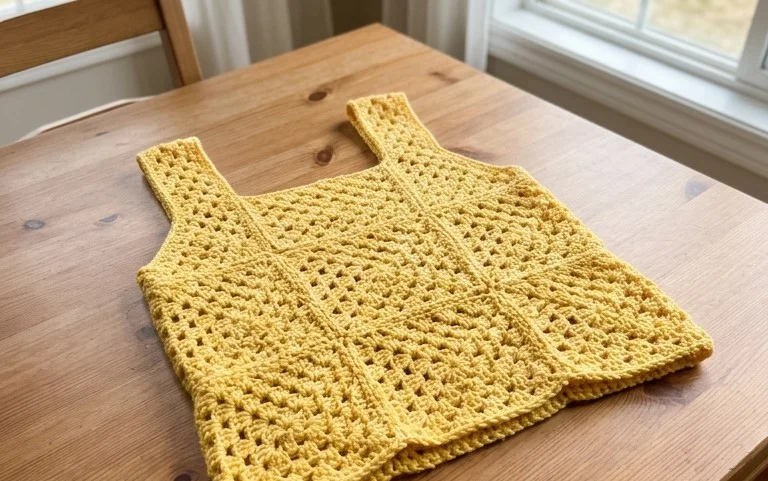
Soft cotton yarn creates a breezy fabric that sits lightly against your skin during the humid months of July and August. These tops have a boxy, vintage silhouette that fits well over a swimsuit or tucked into high-waisted denim shorts. You will work through simple shells and clusters to form individual squares before joining them with a flat slip stitch seam. Even if you have only handled a hook a handful of times, the repetitive nature of these motifs makes the process relaxing. You will build confidence with color changes and border work while crafting a wearable piece.
Why Crocheters Love It
The Amigurumi Mushroom is a foundational project that teaches the mechanics of 3D construction using simple, tight single crochet stitches. This pattern works up in under two hours, making it an ideal choice for last-minute handmade gifts or market inventory. Because it requires less than 30 yards of yarn, it serves as a reliable stash-buster for those partial skeins of worsted weight cotton you have tucked away in your craft bin. The shaping uses basic increases and decreases, providing a clear lesson on how spherical geometry works in crochet.
I managed to finish three of these in one afternoon for my niece’s fairy garden project. The instructions are very easy to follow and the mushroom stands up perfectly on its own.
— Sarah, amigurumi hobbyist
Pattern Overview & Skill Level
- Skill Level: Beginner
- Approximate Time: 1 to 2 hours
- Construction: Worked in continuous rounds starting with a magic ring. The cap and stem are worked as separate pieces and sewn together.
- Finished Dimensions & Sizing: Approximately 3 inches tall by 2.5 inches wide.
Materials & Supplies Needed
- Yarn: Worsted #4 weight cotton yarn. You will need approximately 20 yards of red for the cap and 10 yards of cream or white for the stem. Cotton is preferred for its stitch definition and ability to hold shape.
- Hook Size: 3.5 mm (US E-4). Using a hook slightly smaller than the yarn label recommends ensures your stitches are tight enough to keep the stuffing from poking through.
- Notions: Tapestry needle with a blunt tip, fiberfill stuffing, a stitch marker to track the start of rounds, and scissors.
- Safe Yarn Substitutions: Acrylic worsted weight yarn can be substituted for cotton, though the final mushroom will have a slightly softer, fuzzier texture. Avoid using loose-spun wool, as it may shed or pill with heavy handling.
Stitch Guide & Abbreviations (US Terms)
- MR: Magic ring
- ch: Chain
- sc: Single crochet
- inc: Increase (work 2 sc into the same stitch)
- dec: Decrease (sc2tog, inserting the hook into the front loops of the next two stitches to pull through and complete)
- sl st: Slip stitch
- st/sts: Stitch/stitches
- FO: Fasten off
Step-by-Step Pattern Instructions
Mushroom Cap
- Rnd 1: Work 6 sc into a MR (6 sts).
- Rnd 2: Inc in each st around (12 sts).
- Rnd 3: [Sc in next st, inc in next st] 6 times (18 sts).
- Rnd 4: [Sc in next 2 sts, inc in next st] 6 times (24 sts).
- Rnd 5: [Sc in next 3 sts, inc in next st] 6 times (30 sts).
- Rnd 6-9: Sc in each st around (30 sts).
- Rnd 10: [Sc in next 3 sts, dec] 6 times (24 sts).
- Rnd 11: Sc in each st around (24 sts). FO, leaving a long tail for sewing.
Mushroom Stem
- Rnd 1: Work 6 sc into a MR (6 sts).
- Rnd 2: Inc in each st around (12 sts).
- Rnd 3: [Sc in next st, inc in next st] 6 times (18 sts).
- Rnd 4-7: Sc in each st around (18 sts).
- Rnd 8: [Sc in next st, dec] 6 times (12 sts).
- Rnd 9: Sc in each st around (12 sts). Sl st into the next st to finish. FO, leaving a tail for sewing.
Assembly
Stuff the stem firmly with fiberfill until it holds a cylindrical shape. Lightly stuff the cap so it retains a rounded profile. Place the top of the stem against the center bottom of the cap. Using your tapestry needle and the long yarn tail from the stem, sew the stem to the cap using a whip stitch through the loops of both pieces. Knot securely and hide the tail end inside the stem.
Care & Washing Instructions
- Hand wash in cool water using a gentle, wool-safe detergent to avoid distorting the fiberfill.
- Lay flat on a clean towel to air dry, turning the mushroom occasionally to ensure even evaporation.
- Avoid using a tumble dryer or iron, as these can melt synthetic fibers or compress the internal stuffing permanently.
Pro Tips & Common Mistakes to Avoid
Maintain consistent tension throughout the project to ensure the stuffing does not show through the gaps between stitches. If you notice large holes, drop down half a hook size to tighten the fabric. Always use a stitch marker at the start of every round, as it is easy to lose count when working in a continuous spiral. Weave your yarn ends into the interior of the mushroom rather than on the outside surface to achieve an invisible, professional finish. To adjust the size, add more increase rounds to the cap; note that this will require significantly more stuffing and additional yarn.
Frequently Asked Questions
Can I use a different weight of yarn for this pattern?
Yes, but you must adjust your hook size accordingly. Using a thinner yarn with a smaller hook will produce a miniature mushroom, while using bulky yarn with a larger hook will create a larger plushie.
Is this project suitable for absolute beginners?
This is an excellent first amigurumi project because it only requires single crochet and basic increasing and decreasing techniques. Taking the time to master these two skills will allow you to complete almost any basic 3D crochet shape.
How do I prevent the stitches from twisting?
Continuous rounds naturally spiral, which can sometimes look like a slight twist. Ensure you are pulling your yarn tight on every stitch and verify your stitch count at the end of every round to keep the geometry circular and even.
Can I sell the finished mushrooms made from this pattern?
Check the designer’s specific copyright terms located on the original pattern source. Most independent designers allow small-batch sales if credit is given, but you must verify this individually for every pattern you use.
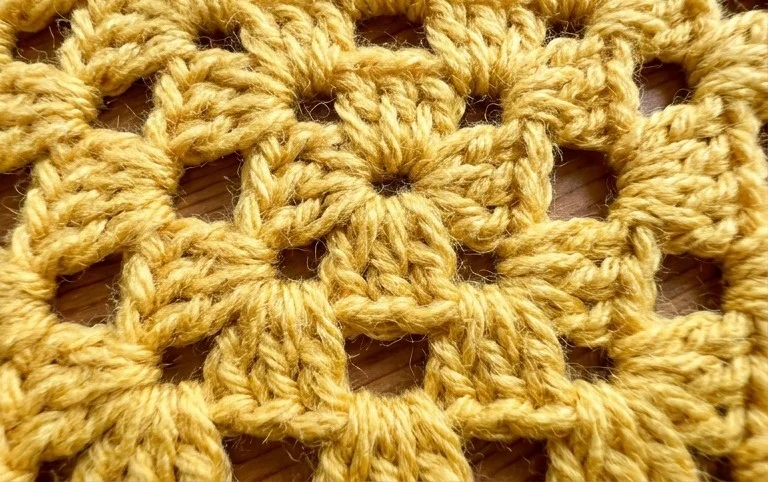
Your finished garment carries a distinct handmade charm that feels much cooler than mass-produced synthetic shirts. You can swap the traditional cotton for a linen blend if you want more drape, or change the solid borders to a variegated yarn for a bohemian look. Post a photo of your work on Instagram or Pinterest to show off your custom color palette to the community. Browse through the rest of our archive for more free patterns that match your skill level and help expand your seasonal wardrobe.